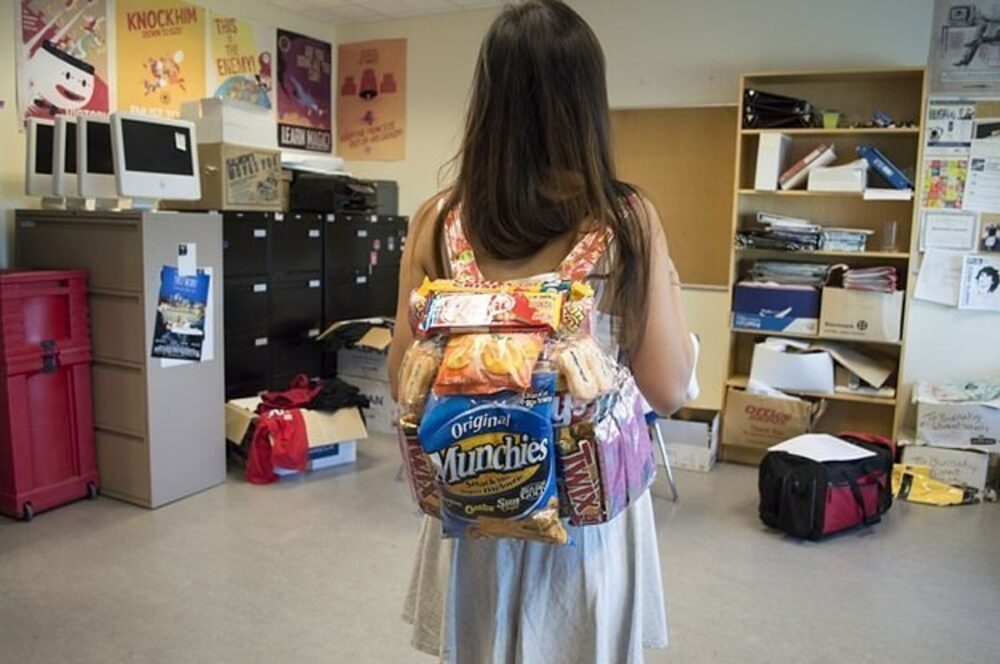
Are you tired of fumbling through your bag in search of snacks while on the go? Look no further! In this DIY tutorial, we’ll guide you how to make snack backpack DIY tutorial. Not only will it keep your favorite treats organized and easily accessible, but it also adds a touch of personal style to your outings. Let’s dive in and get crafty!
Materials Needed:
- Backpack or drawstring bag
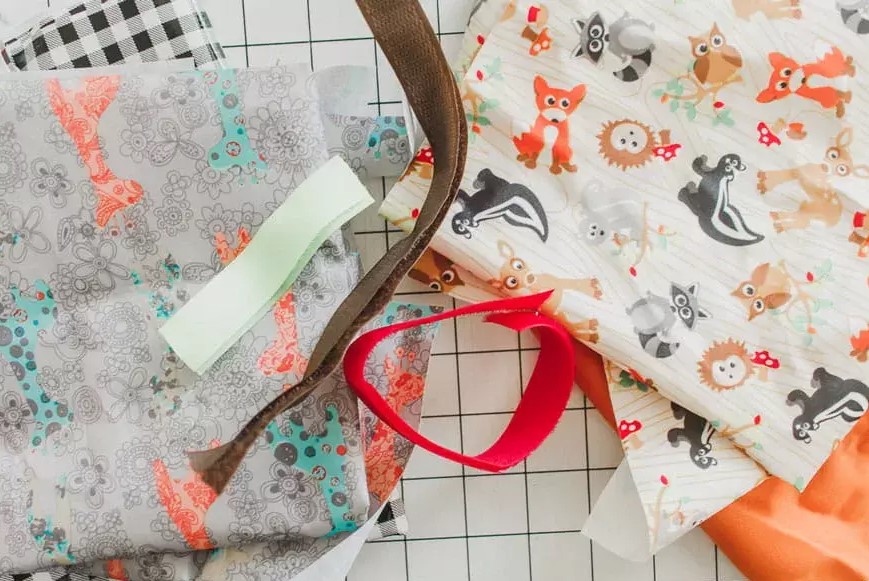
- Fabric of your choice
- Scissors
- Sewing machine or needle and thread
- Zipper or Velcro
- Elastic bands
- Buttons, patches, or decorative items (optional)
- Snacks of your choice
How To Make Snack Backpack DIY Tutorial

Below is guide of how to make snack backpack DIY tutorial. Just prepare some simple ingredients and follow these steps:
Step 1: Choose the Perfect Backpack
Select a backpack or drawstring bag that suits your needs and style. Make sure it’s large enough to hold your desired snacks without being too bulky. Opt for a bag made from durable material to withstand regular use.
Step 2: Measure and Cut the Fabric
Measure the dimensions of the front pocket of your backpack. Add an extra inch to each side for seam allowance. Use these measurements to cut a rectangular piece of fabric from your chosen material. This fabric will serve as the snack organizer.
Step 3: Create Compartments
Decide on the number and size of compartments you want to have in your snack backpack. These compartments will hold different snacks and keep them separated. Cut smaller rectangular pieces of fabric according to your desired compartment sizes.
Step 4: Sew the Compartments
Using a sewing machine or needle and thread, attach the smaller fabric pieces onto the larger rectangular fabric. Sew along the edges, creating dividers for each compartment. This will ensure that your snacks stay neatly organized and don’t mix together.
Step 5: Attach a Closure
To keep your snacks secure and prevent them from falling out, attach a zipper or Velcro to the top of the fabric organizer. This will act as a closure for your snack backpack. Choose a closure option that suits your skill level and preference.
Step 6: Attach Elastic Bands
Measure the width of each compartment and cut corresponding lengths of elastic bands. Attach the elastic bands vertically on the fabric, spacing them evenly. These bands will hold your snacks in place and prevent them from shifting during transport.
Step 7: Decorate Your Snack Backpack
Add a personal touch to your snack backpack by attaching buttons, patches, or any other decorative items you like. This step is optional but can make your backpack more unique and visually appealing.
Step 8: Fill Your Snack Backpack
Once your snack backpack is complete, fill it with your favorite snacks. Consider a variety of options to cater to different cravings and dietary preferences. Granola bars, dried fruits, nuts, and small packages of crackers are excellent choices.
Some Additional Ideas To Create Your Diy Snack Backpack

Here are some additional ideas to enhance your snack backpack DIY tutorial:
Insulation Layer
If you want to keep your snacks fresh and maintain their temperature, consider adding an insulation layer to your backpack. You can use insulated fabric or sew in an insulated lining to help regulate the temperature inside the compartments.
Adjustable Straps
Make your snack backpack versatile by adding adjustable straps. This allows you to customize the fit and comfortably carry the backpack on your back or over your shoulder.
Transparent Pockets
Incorporate transparent pockets or mesh fabric into your design. These pockets will allow you to quickly see the contents of each compartment without having to open them, making it easier to find the snack you’re craving.
Hydration Compartment
Dedicate a separate compartment specifically for holding water bottles or beverage containers. Include a built-in elastic band or strap to secure the bottles in place and prevent leaks.
Hidden Pocket
Add a secret pocket to your snack backpack, perfect for storing small personal items like keys, money, or headphones. This hidden pocket can be concealed behind the snack organizer or integrated into the backpack’s lining.
Customizable Labels
Create labels for each compartment of your snack backpack. You can sew or attach removable labels to help you identify and categorize the snacks, making it even easier to find what you’re looking for.
Detachable Snack Containers
If you prefer individual containers for your snacks, consider making detachable pouches or containers that can be easily inserted and removed from the compartments. This allows for easy cleaning and flexibility in snack choices.
Water-Resistant Material
Choose water-resistant fabric or treat the exterior of your backpack with a water-repellent spray. This added protection will keep your snacks safe and dry, even in unexpected weather conditions.
Adjustable Dividers
Instead of sewing dividers directly onto the fabric, create adjustable dividers using hook-and-loop fasteners. This way, you can change the size and arrangement of compartments according to your snack preferences.
Personalized Embroidery
Add a touch of personalization to your snack backpack by embroidering your name, a fun design, or a motivational phrase onto the fabric. Embroidery adds a unique and creative element to your DIY project.
Conclusion
Congratulations! You’ve successfully crafted your very own snack backpack, designed to keep your favorite treats organized and easily accessible on the go. With this DIY tutorial, you’ve learned how to create compartments, attach closures, and add personal touches to your backpack. Now, you can embark on your adventures without the hassle of rummaging through your bag in search of a snack. Enjoy your homemade snack backpack and happy snacking!


